
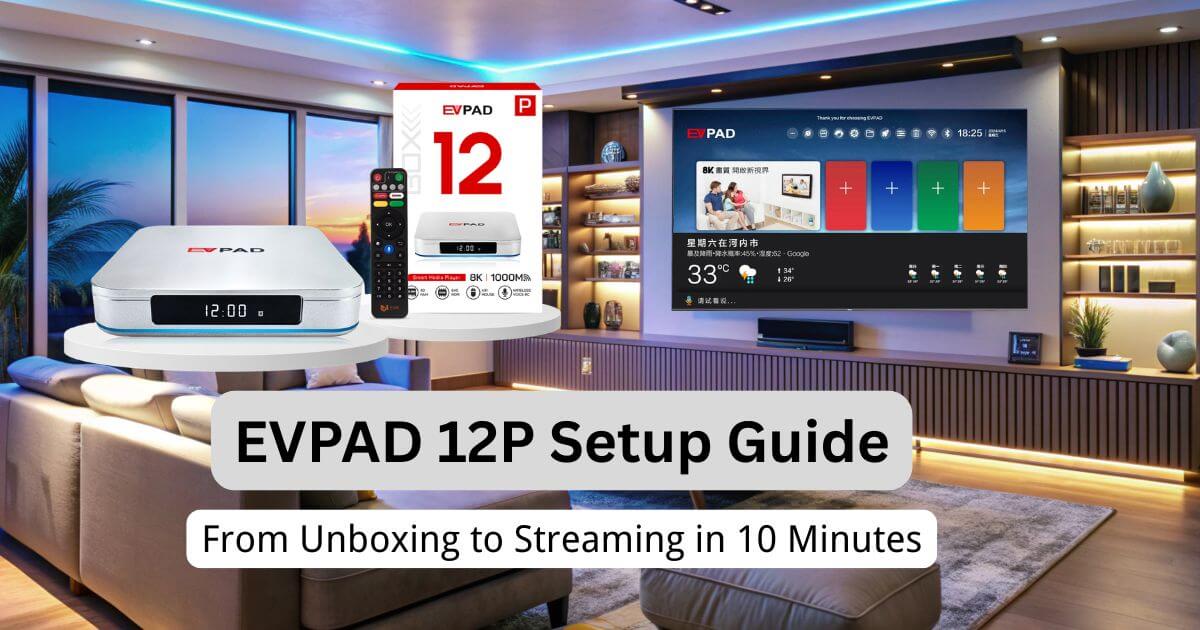
**EVPAD 12P Complete Setup Guide | Unboxing, HDMI, Wi-Fi & Remote**
If you just bought the EVPAD 12P, this step-by-step setup guide will help you get the device connected correctly. Whether you’re a tech beginner or simply looking for a fast start, the guide covers unboxing, power, HDMI, Wi-Fi or Ethernet, display, language, remote pairing, and basic troubleshooting.
---
Introduction
The EVPAD 12P is a compact TV box designed for connection to a compatible television through HDMI. Proper setup helps ensure stable power, network connectivity, correct display output, language settings, and reliable remote-control operation. This guide walks through the main first-time setup steps.
---
What’s in the Box? Unboxing Your EVPAD 12P
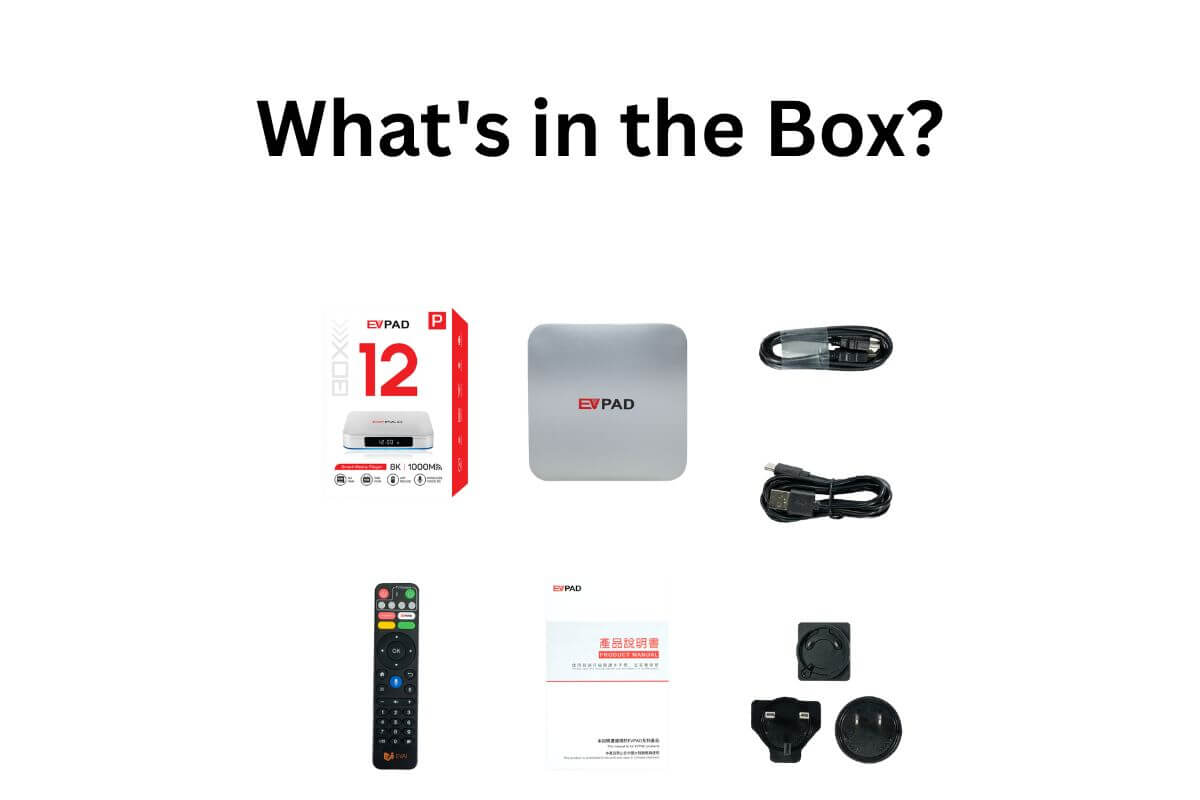
When your EVPAD 12P arrives, the first step is to open the box and make sure everything is as it should be.
**Contents should include:**
- EVPAD 12P TV box
- HDMI cable
- Remote control
- Power adapter
- User manual
Carefully inspect each item for any signs of damage. Confirm that the HDMI cable and power adapter are the correct type for your TV and power source. Choose a clear, convenient space near your TV for setup, ensuring easy access to your TV’s ports and a nearby power outlet.
---
Step 1: HDMI Connection Made Easy
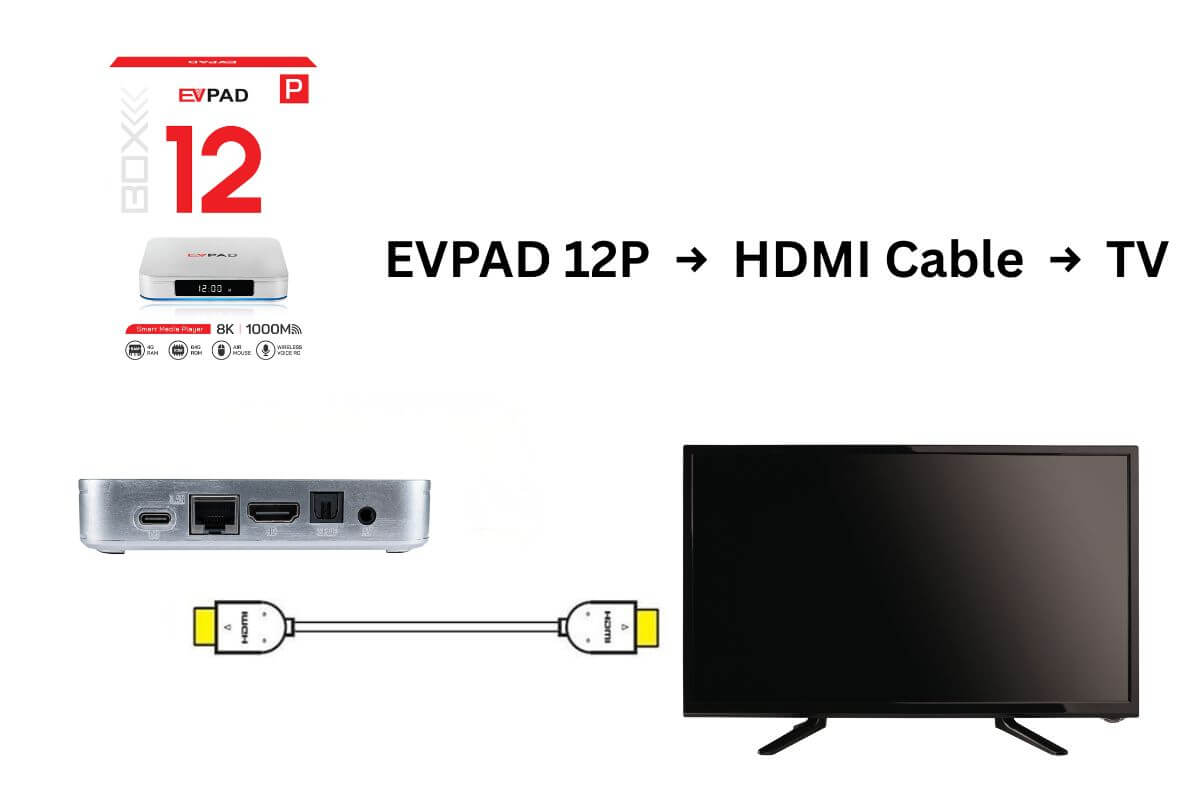
Connecting the EVPAD 12P to your TV is a breeze. Here’s how:
1. **Locate the HDMI Port:**
Find the HDMI port on the back of your TV. It’s usually labeled “HDMI” and might be numbered if you have multiple ports.
2. **Plug In the HDMI Cable:**
Insert one end of the HDMI cable into the EVPAD 12P and the other end into your TV’s HDMI port.
3. **Connect the Power Adapter:**
Plug the power adapter into the EVPAD 12P and then into a wall socket.
4. **Turn On Your TV:**
Use your TV’s remote to power on the TV and set it to the correct HDMI input (often HDMI 1, HDMI 2, etc.).
If the EVPAD 12P is powered correctly, you’ll see its home screen appear on your TV.
---
Step 2: Pairing and Setting Up the Remote Control
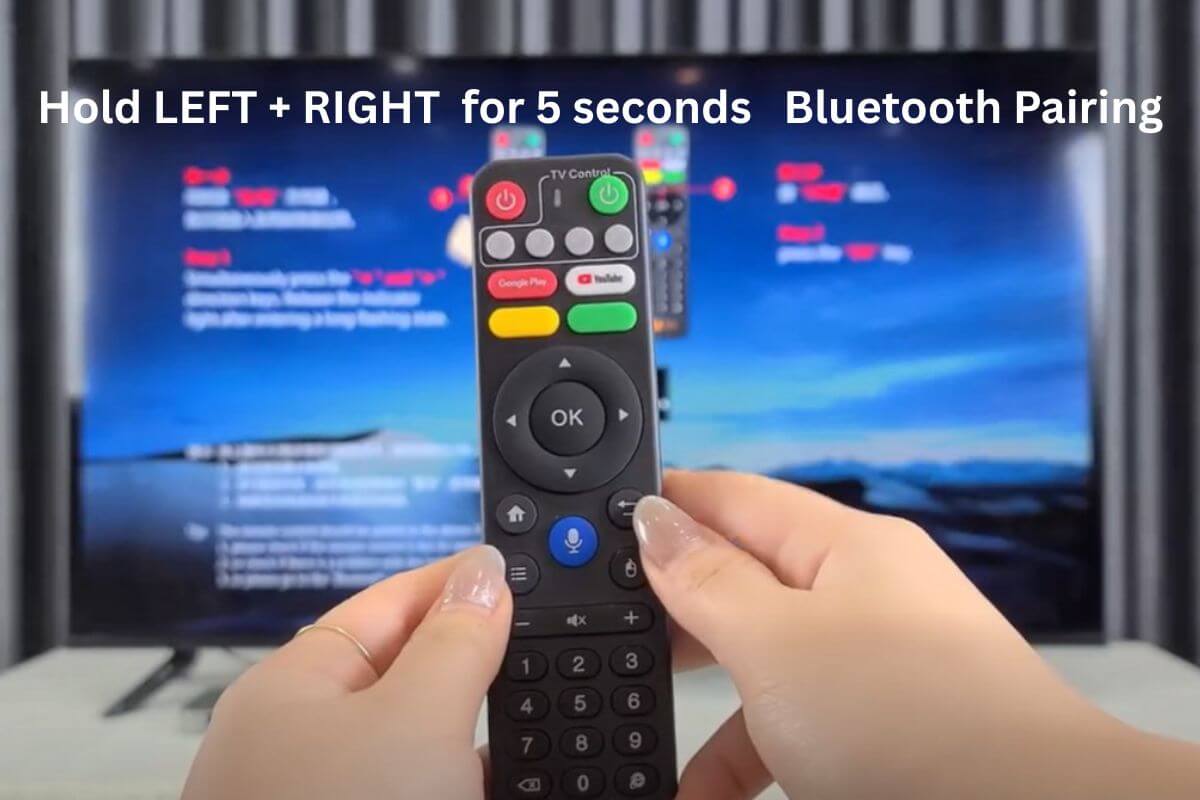
The EVPAD 12P comes with a Bluetooth remote, allowing you to control the device without pointing directly at the TV box.
1.Insert the Batteries
Open the battery compartment on the back of the remote and insert compatible batteries in the correct direction.
2.Enter Bluetooth Pairing Mode
Press and hold the Left and Right buttons on the remote simultaneously for about 5 seconds. The remote will automatically enter Bluetooth pairing mode.
3.Automatic Connection
Once the pairing mode is activated, the EVPAD 12P will detect and connect to the remote automatically. Follow the on-screen instructions if prompted.
After Successful Pairing
After the Bluetooth connection is completed, you can control the EVPAD 12P without pointing the remote directly at the box. You can also test the voice button and basic navigation controls to confirm that the remote is working correctly.
---
Step 3: Connect to Wi-Fi or Ethernet
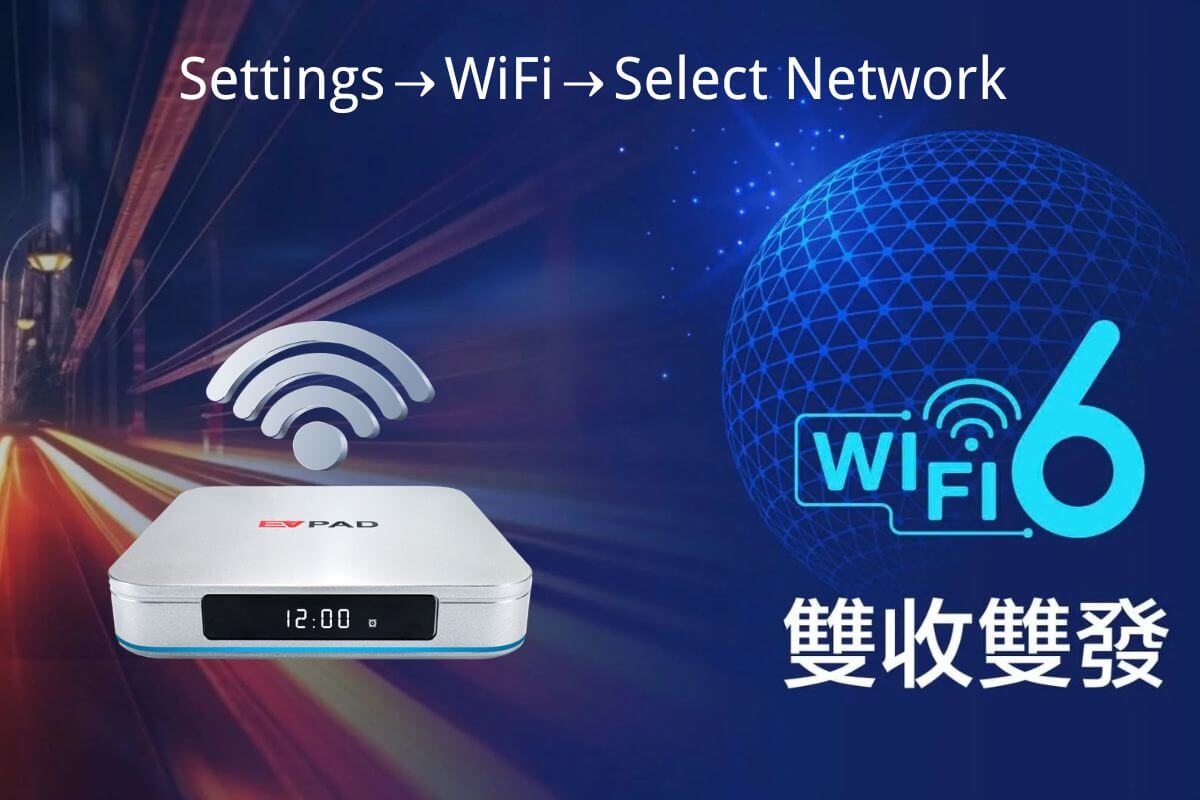
Connect your EVPAD 12P to a stable network so the device can use online system features and receive supported updates:
1. **Navigate to Settings:**
Use the remote to open the Settings menu on the home screen.
2. **Select Wi-Fi:**
Choose “Wi-Fi” from the list.
3. **Choose Your Network:**
Select your home Wi-Fi network from the search results.
4. **Enter Your Password:**
Use the on-screen keyboard to type in your Wi-Fi password, then confirm.
5. **Verify Connection:**
Once connected, the EVPAD 12P should show the network as connected. You can also open the network settings again to confirm the connection status.
**Tips:**
- Place the EVPAD 12P close to your router for the strongest signal.
- Avoid physical barriers that may disrupt wireless connectivity.
---
Step 4: Check Display and Language Settings
Once you reach the EVPAD 12P home screen, take a moment to confirm the display and language settings before regular use.
1.Open Settings
Use the remote to open the Settings menu from the home screen.
2.Check Display Output
Confirm that the picture fills the screen correctly and that the selected resolution is suitable for your television.
3.Check Language
Open the language settings and choose the language you prefer for the system interface. Menu names can vary slightly by system version.
4.Check Date and Time
Confirm the date, time, and time zone are correct, especially after a reset or first-time setup.
5.Return to the Home Screen
After confirming the main settings, return to the home screen and check that the display, network, and remote control are working normally.
---
Quick Troubleshooting Tips
If you encounter issues while using the EVPAD 12P, try the following solutions:
1. Wi-Fi Cannot Connect
- Restart the EVPAD TV box.
- If the problem continues, restart the router, re-enter the Wi-Fi password, and confirm that the router is using a network mode supported by your EVPAD model. Keep normal Wi-Fi security enabled.
- You can also create a mobile hotspot using your smartphone and test whether the box can connect. If it connects successfully, the router may be the issue.
- For a more stable connection, EVPAD recommends using a wired Ethernet connection. The EVPAD 12P supports Gigabit LAN for faster and more reliable internet.
2. No Sound Output
- If there is no sound output, check the HDMI connection, power off the EVPAD TV box, reconnect the HDMI cable, and restart the device.
- Make sure the TV volume is turned on and not muted.
3. Remote Control Not Responding
- The power button uses infrared, so point the remote directly at the TV box when turning it on or off.
- Check whether the batteries need to be replaced.
- If using a Bluetooth remote, go to the Bluetooth settings on the home screen, remove the remote pairing, and pair it again.
- If the problem persists, the remote may need to be replaced.
4. Voice Button Not Working
- Remove and reinstall the remote batteries or replace them with new ones.
- Unpair the remote and pair it again.
- If the issue continues, restart both the EVPAD box and the TV.
---
Friendly Notice and Important Reminders
To keep your EVPAD 12P running smoothly and securely, remember these tips:
- **Safety First:**
Keep the box ventilated and avoid excessive heat or moisture.
- **Software Updates:**
Regularly check for system updates in Settings to enhance functionality and security.
- **Safe Setup:**
Use verified system settings and avoid installing unknown files or making unnecessary advanced changes during first-time setup.
- **Support & Resources:**
If you need further assistance, visit the EVPAD support pages or contact customer service with your model and setup details.
---
Conclusion: Complete Your EVPAD 12P Setup
With your EVPAD 12P connected, you should now have the main first-time settings in place. This guide covers the essential steps from unboxing and HDMI connection to network, display, language, and remote setup.
If you found this guide helpful, you can explore other EVPAD setup and troubleshooting articles on our blog. If a hardware or setup problem continues, contact customer support with your model information.
---
**Tags:** EVPAD, EVPAD 12P, Setup Guide, HDMI, Wi-Fi, Ethernet, Display Settings, Language Settings, Remote Control, Troubleshooting, User Guide